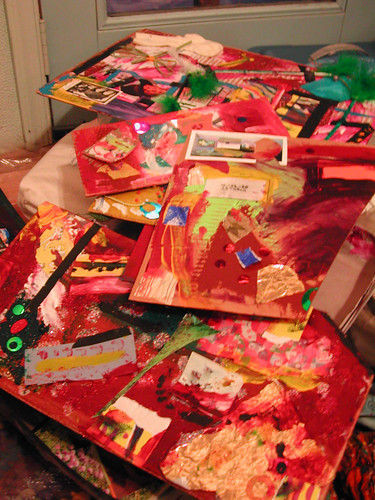
What bliss it brings to open the mailbox and find, in amongst the bills and junk mail, some bold, wacky, colorful piece of handmade art!
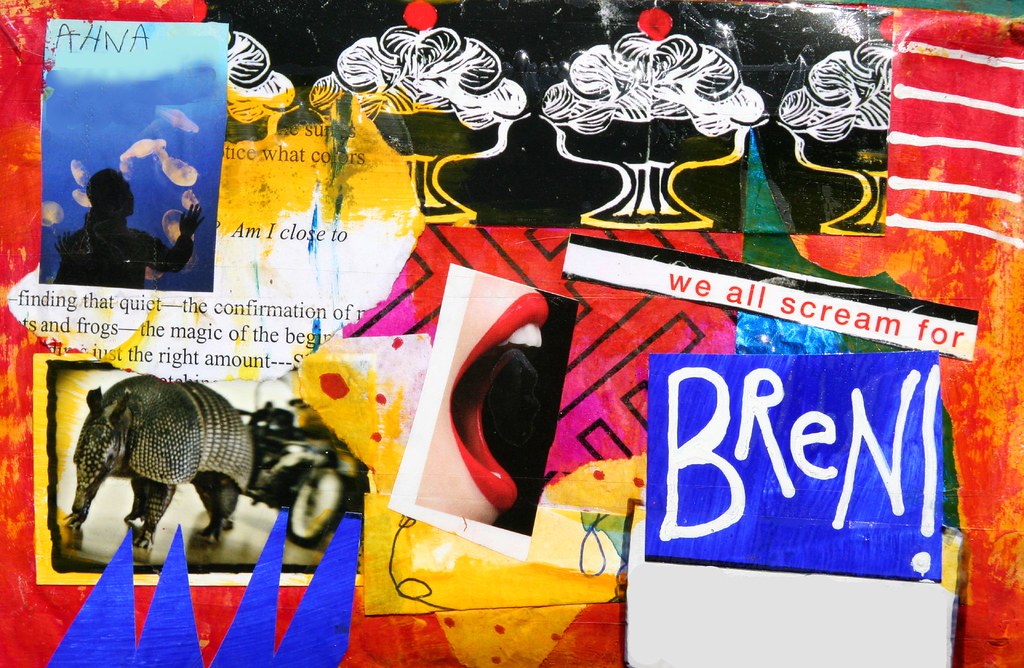
Above: Bren's art mail parcel
One thing I love about mail art is that it gets to pass through many hands. Who knows whether it may brighten a postal worker's day or bring a grin to some clerk's face on the way to its final destination?
The mysterious work of mail art is a good metaphor for our creative work in general, in this sense: Part of the joy of making art is that we never know who it will touch or what its exact purpose in the world is. We have to go on making it out of trust, and sheer love, acknowledging that it's not our business to know where it will end up or whether it will "do" anything. Bringing it into being is enough. The rest is out of our hands!

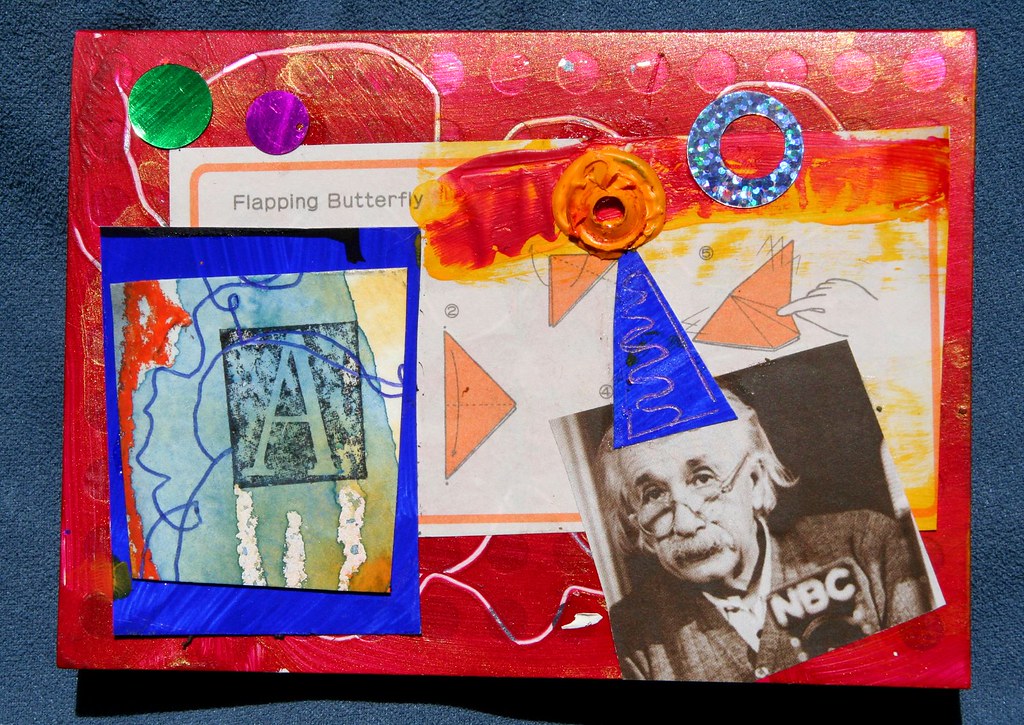
Above: Mail art post card for Monika
Pushing the Envelope: Fun Mail Art Forays
There are numberless fun ways to make mail art. I once had a snail mail exchange with my friend, Farnoosh, which was based around sending a small stuffed, ferret-like animal (whom we named

Above: Round-robin collage by my cousin, Kristin, my mom and me
Making Mail Art
Here's my current favorite way to make mail art:
1) Start with a big piece of cardboard (gessoed, if you like).
2) Grab some oil pastels, crayons or a ball point pen and scribble to your heart's content, like a rapt kindergartner. Experiment with loopy lines, squiggles, words, shapes… Just see where your hand takes you!
3) Next, slather on some watered-down layers of paint over the scribbles. Go wild with color and enjoy how the pastels or crayons resist the paint, making interesting layers.
Above: Me and Amita hair-dry our enormous mail art collage (and each other)
4) Use a hairdryer to dry the sheet of cardboard, and then cut it up into rectangular pieces. If you plan to send the pieces through the mail as postcards, you may want to cut them no bigger than 4.25 X 6", the maximum size for domestic postcard rates. (If you're using heavy cardboard, the post office will often charge you extra postage. If you use card stock or light, bendable cardboard, however, it's super cheap.)
5) Add collage layers, glitter, words or whatever fun embellishments you like, and then seal over your work with some clear packaging tape or a glossy varnish. Stamp, address, check with your post office to make sure you've included correct postage and send your art out into the world!
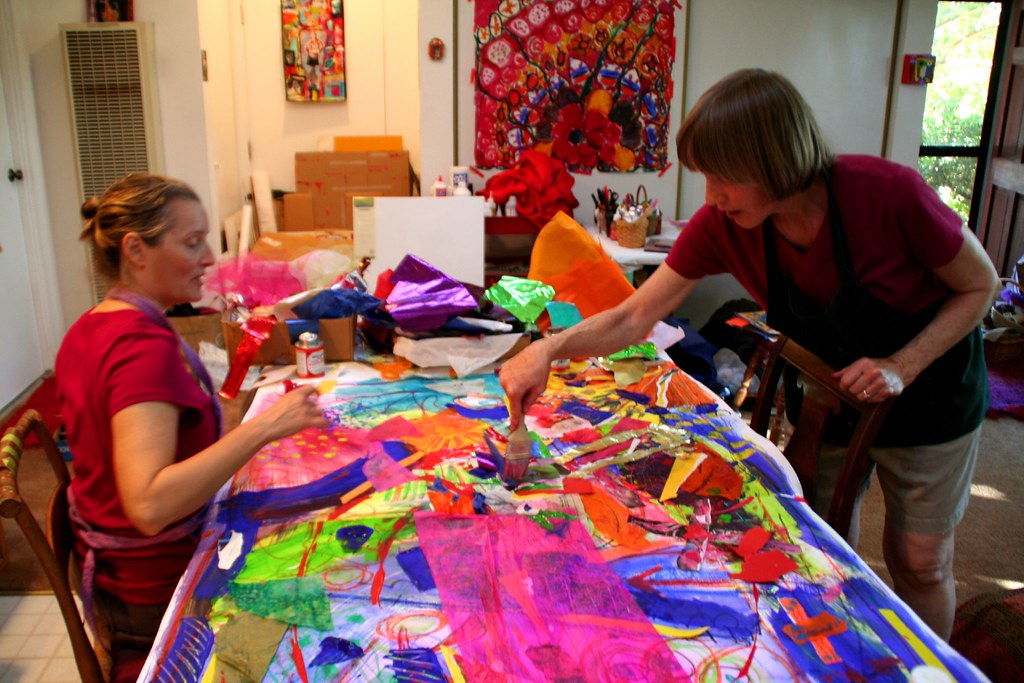
Above: Amita and my mom add collage layers
You can try the above process alone, or with some collaboration buddies. Have fun spreading the mail art love!

Above: Amita, my mom and me pose with our collaborative art piece
